| firmware | ||
| mapping | ||
| src | ||
| .gitignore | ||
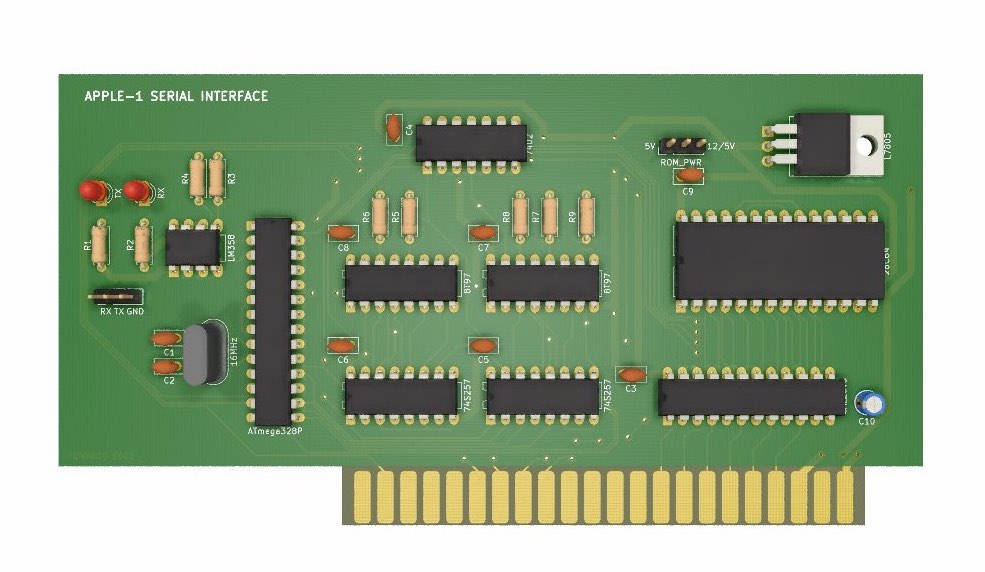
| apple1serial.jpg | ||
| LICENSE | ||
| Makefile | ||
| README.md | ||
apple1serial
This repository contains firmware files for the Apple-1 Serial Interface expansion card.
Description
This project aims to provide an alternative to the ACI for the Apple-1 computer via use of the serial communication (9600/8-N-1). The expansion card is based around ATMega328P MCU which operates as half-duplex UART. The signal levels are TTL, so adapter boards may be required if you need some other standard. The best way to connect the device to a regular modern PC is to use one of those cheap FTDI FT232RL USB dongles available everywhere.
Memory map
| address | function |
|---|---|
$C100-$C7FF |
address space reserved for on-board ROM |
$C100 |
the original ACI loader program adapted to the A1SI |
$C300 |
"teletype on apple-1" test program - the data from remote terminal appears on Apple-1 screen |
$C400 |
"teletype on remote" test program - the data from Apple-1 appears on remote terminal |
$C500 |
0-255 repeating counter - all possible bytes are repeatedly sent to remote terminal |
$C600 |
serialmonitor - the well known Woz Monitor, but now on the remote terminal |
entries for programmers:
| address | function |
|---|---|
$C000 |
ready flag - contains 0x01 if the device is ready to write/read byte, 0x00 otherwise |
$C080 |
read address - the location for data read from the interface, first read of this address switches the device to read mode |
$C081 |
write address - the location for data to be written via the interface, first write to this address switches the device to write mode |
$C23A |
software reset routine - resets the MCU |
$C1EC |
block read routine - reads data from the interface to the specified address range |
$C213 |
block write routine - writes the data from the specified address range via the interface |
$0034 |
lower byte of the end address for block read/write routines |
$0035 |
upper byte of the end address for block read/write routines |
$0036 |
lower byte of the beginning address for block read/write routines |
$0037 |
upper byte of the beginning address for block read/write routines |
Contents
The contents of this repository are as following:
- firmware/ - contains source code for the ATMega328 MCU firmware
- mapping/ - contains EQN and JED files for GAL20V8 based address decoder for the board
- src/ - contains the 6502 assembly sources for the A1SI onboard ROM routines
Requirements
You need the following to successfully build the firmware:
- xa cross assembler
- avr-gcc toolchain
- avr-libc set of libraries
- AVRDUDE AVR programmer software or equivalent
- Some software capable of translating the EQN files into JED's. I used for this purpose the DOS based EQN2JED from OPALjr PLD Development Package. This is only required if you wish to make some changes to the GAL based address decoder. The default JED file should be fine for most users.
How to build?
To build the firmware just type:
make
And to clean the build:
make clean
PCB
The KiCad project files with board design and schematics can be found here:
http://github.com/flowenol/Apple1SerialPcb
Applesoft BASIC support
You can also LOAD and SAVE your Applesoft BASIC programs thanks to the branch of the
applesoft-lite project which has been modified to make use of the A1SI expansion card:
http://github.com/flowenol/applesoft-lite
How to install hardware?
Solder the "C" memory segment line near 74154 demultiplexer to the "T" signal line. Afterwards just put the board in right orientation (as marked on the PCB) in the Apple-1 expansion slot. Or you can use the port expander if the on board slot is already occupied: