Apple2-IO-RPi
Apple II expansion card using a Raspberry Pi for I/O
Purpose
The purpose of this project is to provide I/O for an Apple II series 8 bit computer via a Raspberry Pi Zero W which is powered by the Apple II expansion bus. This includes using the attached RPi Zero W for it's storage, network and processor to provide new functionality for the Apple II.
Project Status
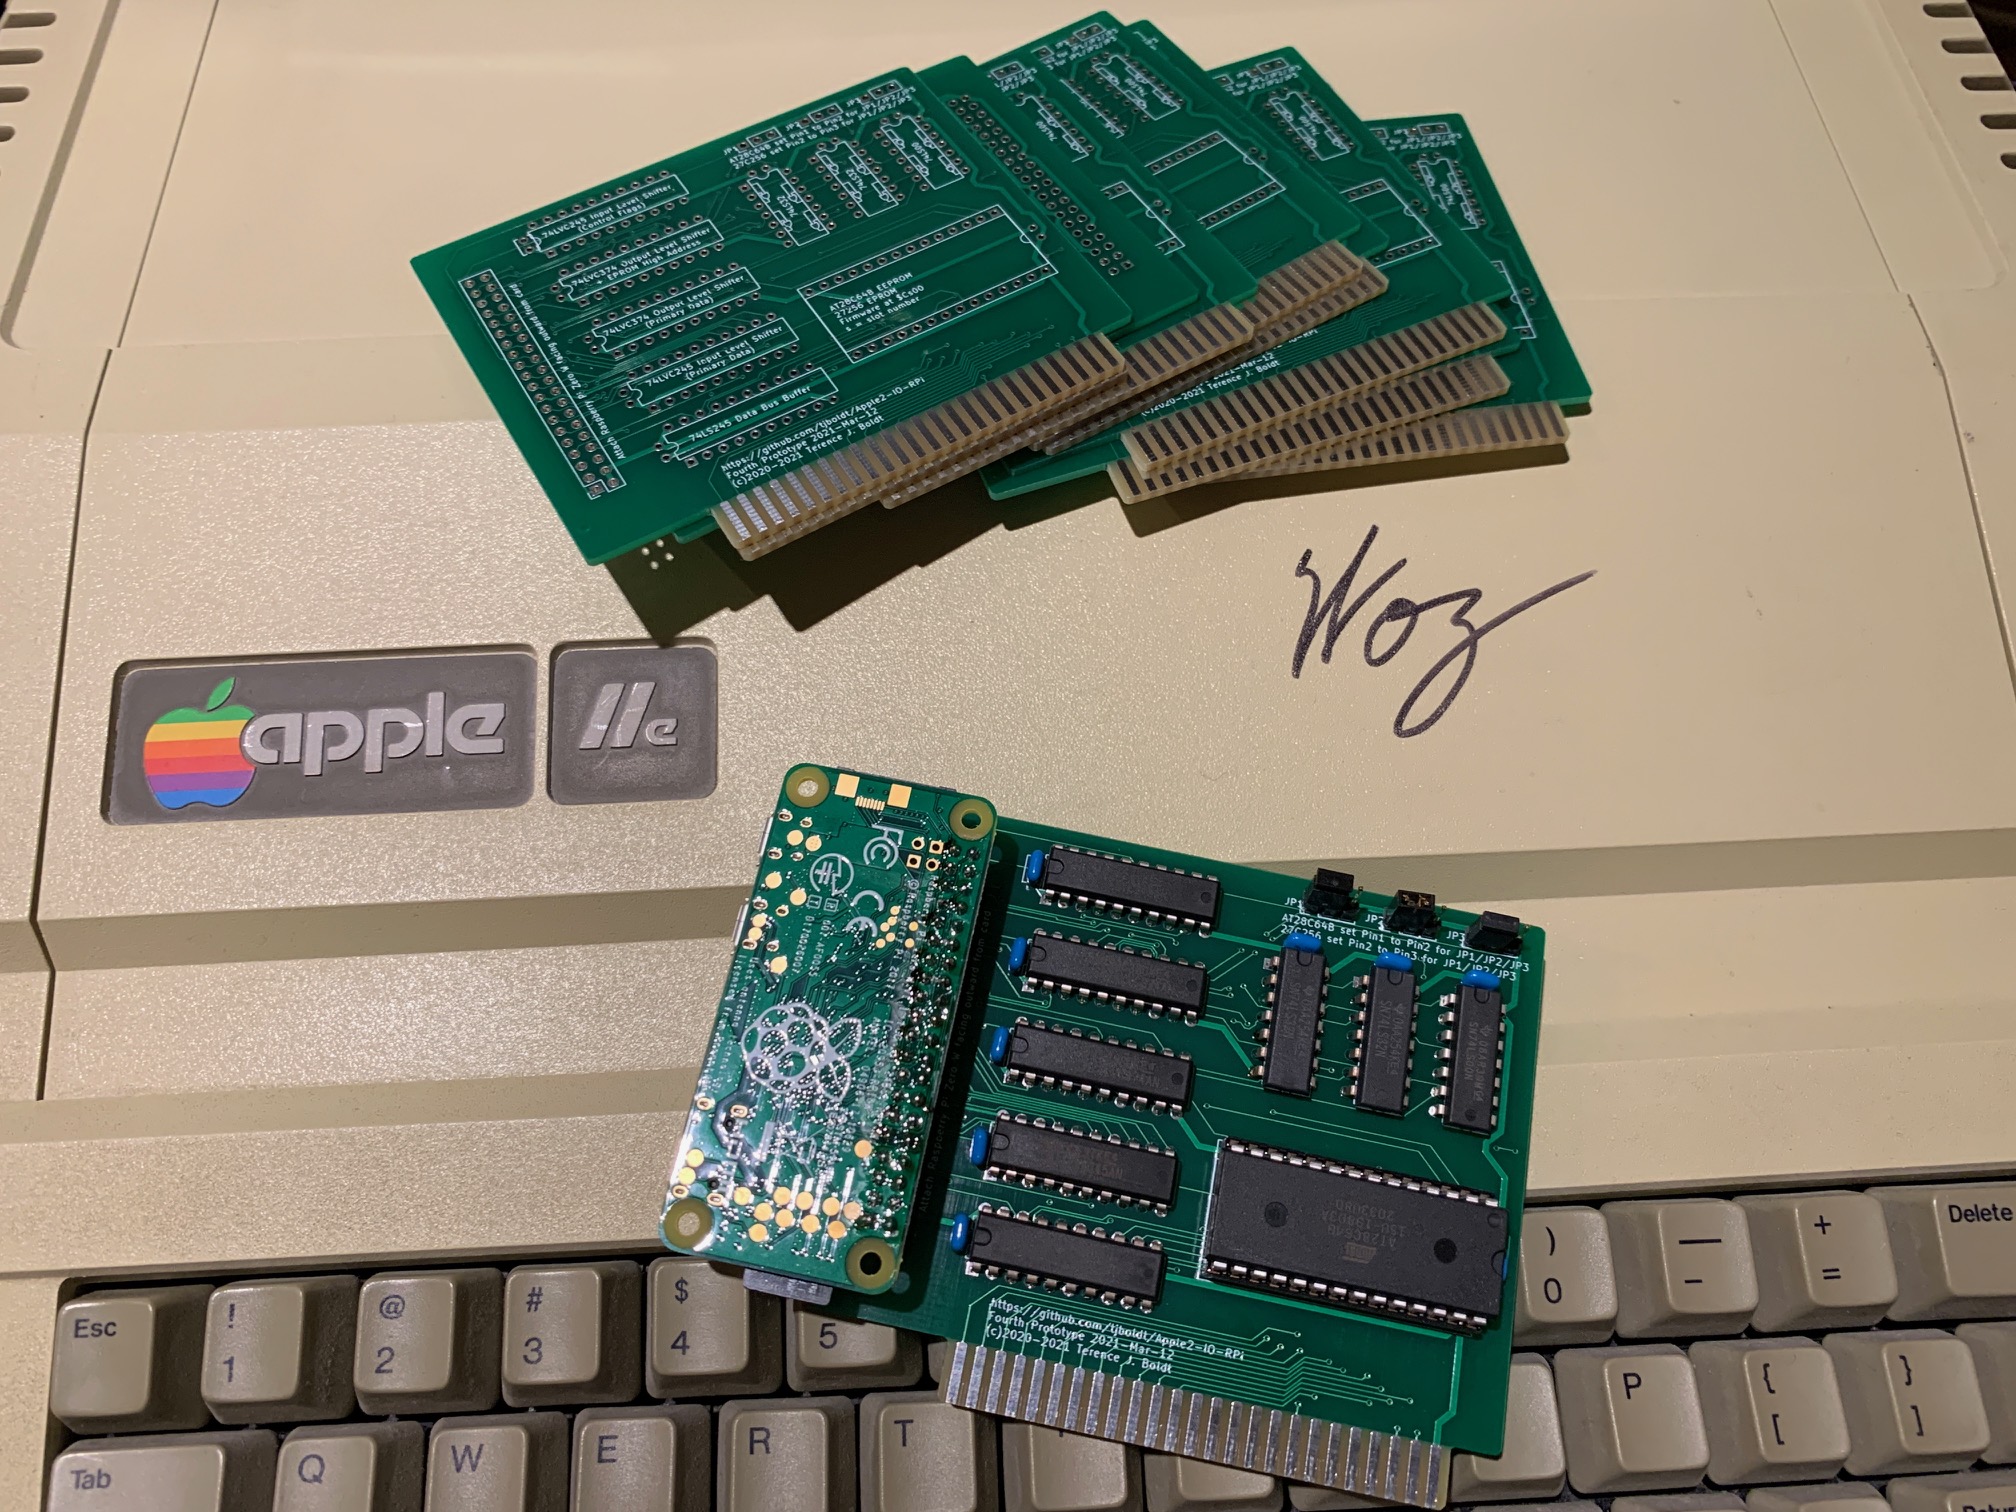
So far, this is a project and not a finished product. The current prototype is on the fourth revision and a few have been assembled and tested. It is now possible for the Apple II to boot from and write to a virutal hard drive image stored on the RPi in any slot and execute simple commands on the RPi via the Apple II. The code has no error handling or tests yet and is incomplete.
Features
- Boot menu which waits for RPi to be ready
- ProDOS bootable drive from image stored on RPi
- Execute Linux commands on the RPi from the Apple II
- Load binary files directly from the RPi to the II
- Update Apple II firmware in place from image on RPi
Roadmap
- Proper ProDOS clock driver (currently just directly sets values on block reads)
- Support for direct file read/write without drive image
- Image conversion on download
- Web service call support
- Full terminal emulation
- Remote code execution
- Proxy VNC connection, rendering as Apple II compatible graphics
Setup
- Have PCBs made from the gerber and drill files in the Hardware folder or email me for a blank or fully assembled board
- Solder chips, header and capacitors in place
- Attach Raspberry Pi Zero W facing outward from the card
- Install Raspberry Pi OS on microSD card https://www.raspberrypi.org/software/
- Configure wifi in boot/wpa_supplicant.conf https://howtoraspberrypi.com/how-to-raspberry-pi-headless-setup/
- Add empty ssh file boot (for ssh access over wifi)
- Put microSD card in the RPi
- Install the expansion card into the Apple II
- Power on the Apple II
- Update firmware with utility (not written yet) or use EPROM programmer
- sudo apt install git golang
- git clone https://github.com/tjboldt/Apple2-IO-RPi.git
- cd Apple2-IO-RPi/RaspberryPi/apple2driver
- go get
- go build
- ./apple2driver ../Apple2-IO-RPi.hdv
- Setup the Driver as a service or to autostart via cronjob (crontab -e then add the line @reboot /home/pi/Apple2-IO-RPi/RaspberryPi/apple2driver/apple2driver /home/pi/Apple2-IO-RPi/RaspberryPi/Apple2-IO-RPi.hdv > /home/pi/Apple2-IO-RPi/RaspberryPi/Apple2-IO-RPi.log)
Update
- Restart Apple II
- Select run command
- git pull
- Restart Apple II
- Select boot
- -UPDATE.FIRMWARE
- Enter slot number the card is in
- Wait for firmware update to complete all four pages
Similar Project
If you prefer having Apple II peripherals control a Raspberry Pi rather than simply using the Raspberry Pi to provide storage, network access and processing to the Apple II, have a look at David Schmenk's excellent Apple2Pi project.