| .. | ||
| images | ||
| README.md | ||
BlueGS Installation Guide
- BlueGS Installation Guide
- Introduction
- Steps
- Open computer case
- Remove rear slot cover
- Unscrew DB-25 Connector
- Remove SCSI card
- Move DB-25 connector
- Attach ribbon cable
- Install BlueGS in rear slot
- Reinstall DB-25 connector in rear slot
- Reinstall SCSI card and close computer case
- Insert MicroSD card, check termination
- Power on and enjoy!
Introduction
Before continuing, please ensure you have all the required parts ready:
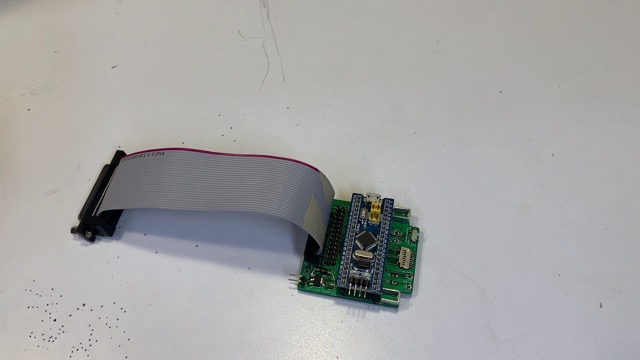
- Assembled BlueGS board, including "Blue Pill" module (See assembly guide for more info)
- Rear slot cover
- 2x screws for rear slot cover ("US Machine Screw" size: #4-40, length: > 0.75in/15mm)
- 26-pin ribbon cable
Open computer case
Turn off the computer power switch and unplug the power connector.
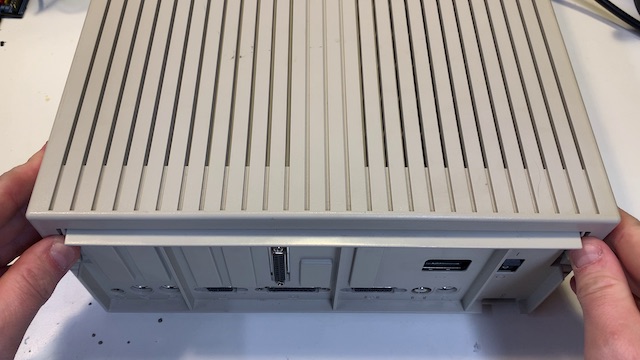
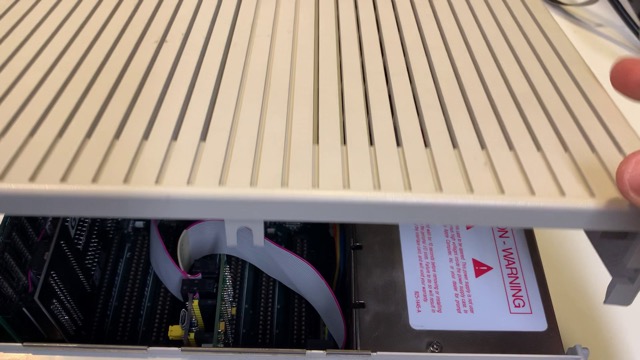
Open the top cover of the computer case.
Before continuing, it is recommended that your remove any static electricity from you body by "grounding" yourself. To do this, touch the metal part of any electrical appliance that uses a grounded/earthed electrical plug (the outside of a metal surge protector, for example).
Remove rear slot cover
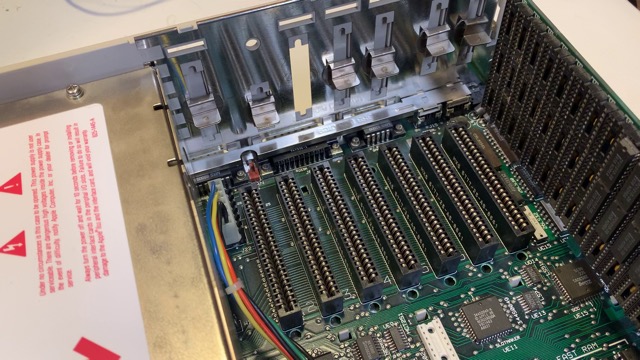
Find an unused DB-25 slot cover. The DB-25 slots are the longest, and a usable slot will be the same length as the slot already used for the external connector of your SCSI card.
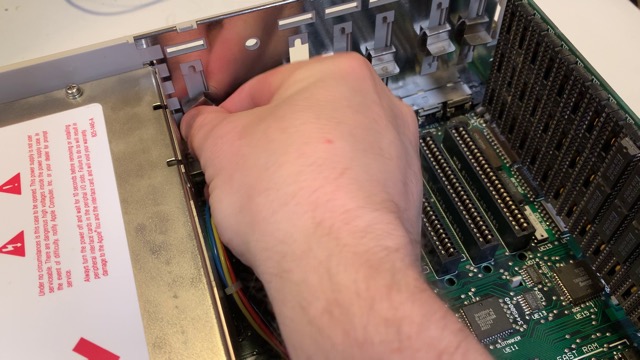
To remove the cover, grasp the metal tab on the inside of the slot and turn counter-clockwise for 1/4 of a turn. Remove the metal tab, and the plastic slot cover should fall away.
Keep both the metal tab and the plastic cover for later re-use as these parts are very hard to replace.
Unscrew DB-25 Connector
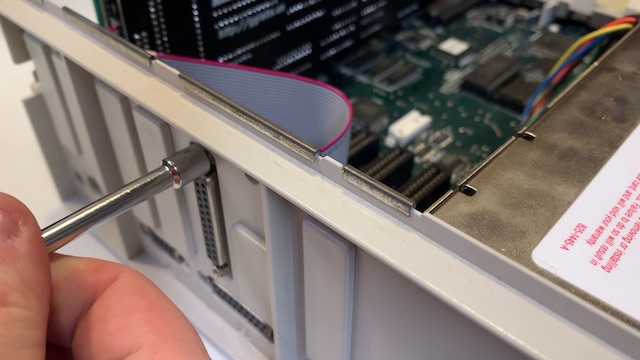
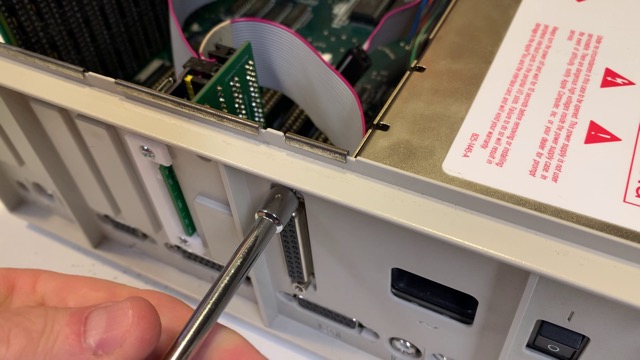
Find the existing connector for the SCSI card on the rear of the computer. It may look similar to connector for a serial card, so make sure you find the correct connector. Using a small socket or needle-nose pliers, loosen the two screw mounts on either end of the connector and remove them. The DB-25 connector should now be freed.
Remove SCSI card
Find your SCSI card (typically in slot #7) and remove it by pulling it firmly upward.
IMPORTANT: While removing the card, ensure the cable for the DB-25 connector (see previous step) is kept away from the metal tabs on the rear of the computer case. These tabs can be sharp and can damage the cable.
Move DB-25 connector
With the SCSI card out of the machine, look at the long rectangular connection where the DB-25 cable connects to the SCSI card (known as an "IDC connector"). Note where "Pin 1" is oriented. Pin 1 is usually marked by a red stripe.
Next, remove the DB-25 connector from the SCSI card. Do this by grasping the IDC connector on the SCSI card and gently pulling away from the board.
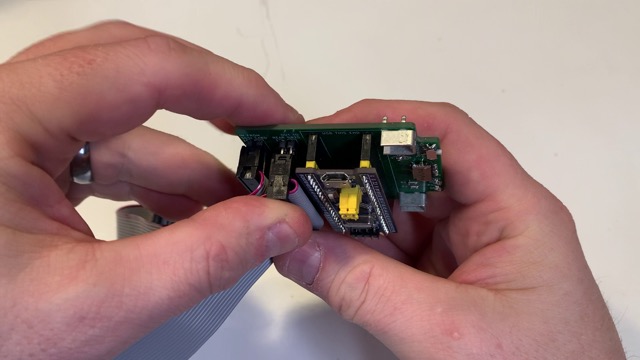
Next, take the IDC connector on the DB-25 cable and connect it the BlueGS board. It can connect to either connector J1 or J2.
When connecting the cable, make sure that Pin 1 is correctly aligned. On the cable, Pin 1 is usually marked by a red stripe. On BlueGS, Pin 1 for connectors J1 and J2 are those closest to the top-left corner and the pins are marked with a "1" on the board next to them.
IMPORTANT: Again, make sure pin 1 is correctly aligned.
Attach ribbon cable
Take the included ribbon cable and attach one end to BlueGS. Use either J1 or J2, whichever connector is not used by the DB-25 connector in the previous step. As before, ensure that Pin 1 is correctly aligned.
Then, connect the other end of the ribbon cable to the SCSI card. Plug it in so that Pin 1 of the ribbon cable is in the same place where Pin 1 of the DB-25 cable was previously.
Install BlueGS in rear slot
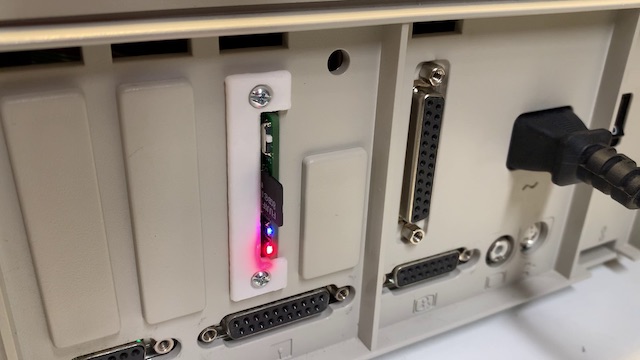
Place BlueGS so the edge with the MicroSD slot, LEDs, and switch is inside one of the open slots on the rear of the computer. It is recommended to orient BlueGS so that the USB port is pointed upwards.
Place the included slot cover on the outside of the case over the appropriate slot and thread the included screws through the two screw holes and in to the brackets on BlueGS.
Once the screws are correctly threaded, gently tighten them down with a screwdriver until BlueGS is firmly attached to the slot.
Reinstall DB-25 connector in rear slot
In the remaining open slot, reinstall the DB-25 connector.
Reinstall SCSI card and close computer case
Reinstall the SCSI card in the correct slot and replace the cover on the computer.
Insert MicroSD card, check termination
Take a MicroSD card that has been previously prepared (instruction here) and insert it in to the slot on the rear.
If you have no other SCSI devices connected to your computer, the "Termination" switch should be set to "On".
Power on and enjoy!
Reconnect all necessary cables, turn on the power and enjoy.
The "Power" LED should light the moment the computer turns on, and the "ACT" LED should light whenever the emulated SCSI drive is being read or written.
