Generating Code

You can generate assembly source code from the disassembled data. Select File > Assemble (or hit Ctrl+Shift+A) to open the source generation and assembly dialog.

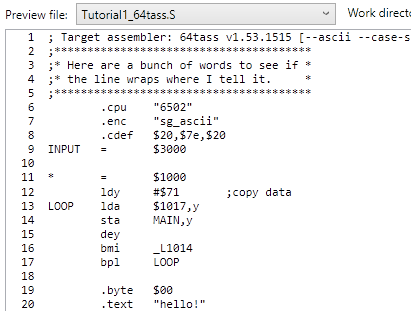
Pick your favorite assembler from the drop list at the top right, then click Generate. An assembly source file will be generated in the directory where your project files lives, named after a combination of the project name and the assembler name. A preview of the assembled code appears in the top window. (It's called a "preview" because it has line numbers added and is cut off after a certain limit.)

If you have a cross-assembler installed and configured, you can run it by clicking Run Assembler. The output from the assembler will appear in the lower window, along with an indication of whether the assembled file matches the original. (Unless there are bugs in SourceGen or the assembler, it should always match exactly.)
Click Close to close the window.
If you want to output source code for display on a web site or posting in an online forum, you have a couple of options. The easiest way to do this is to select the lines and use Edit > Copy to copy them to the system clipboard, and then simply paste it elsewhere. The format will match what's on the screen, and will not be tailored to any specific assembler. The set of columns included in the copy can be configured in the application settings editor, e.g. you can limit it to just the columns typically found in source code.

To export some or all of the project as text or HTML, use File > Export (Ctrl+Shift+E). This is an easy way to share a disassembly listing with people who don't have access to SourceGen. The feature is primarily useful in situations where you want to show the disassembly data (Address and Bytes), or want to embed visualizations (explained later).